Step 1 – Login to the Azure portal
Step 2 – Go to ‘Manage Microsoft Entra ID’
Click on the View button under Manage Microsoft Entra ID (see red square below)

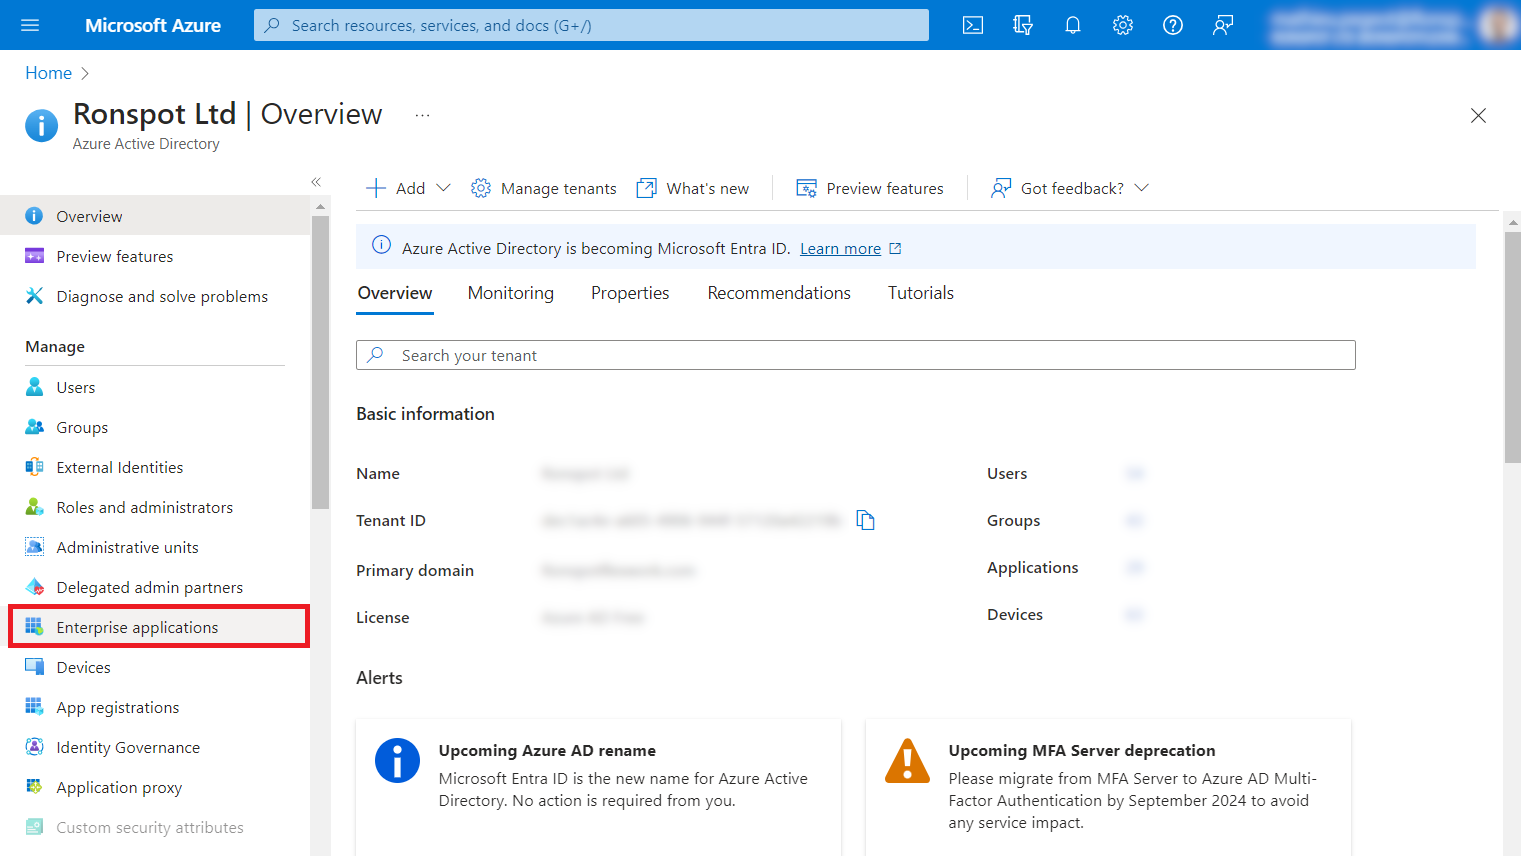
Step 3 – Go to ‘Entreprise Applications’
This will bring you to your company overview page. On the left sidebar, click on Enterprise applications (see red square below)
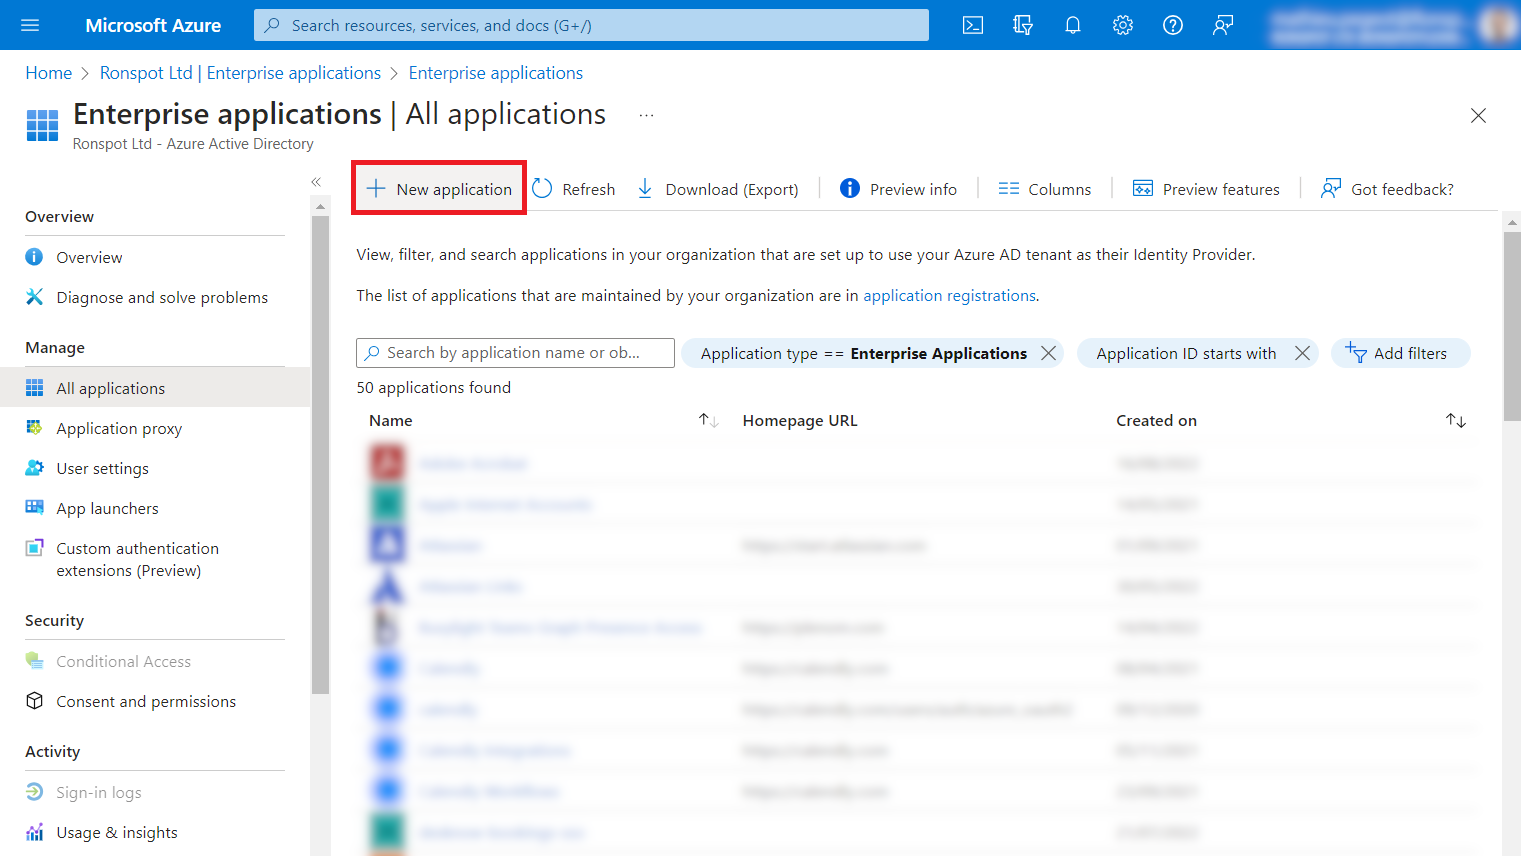
Step 4 – Add a ‘New application’
At the top of the page, press on the button New application (highlighted in red below)
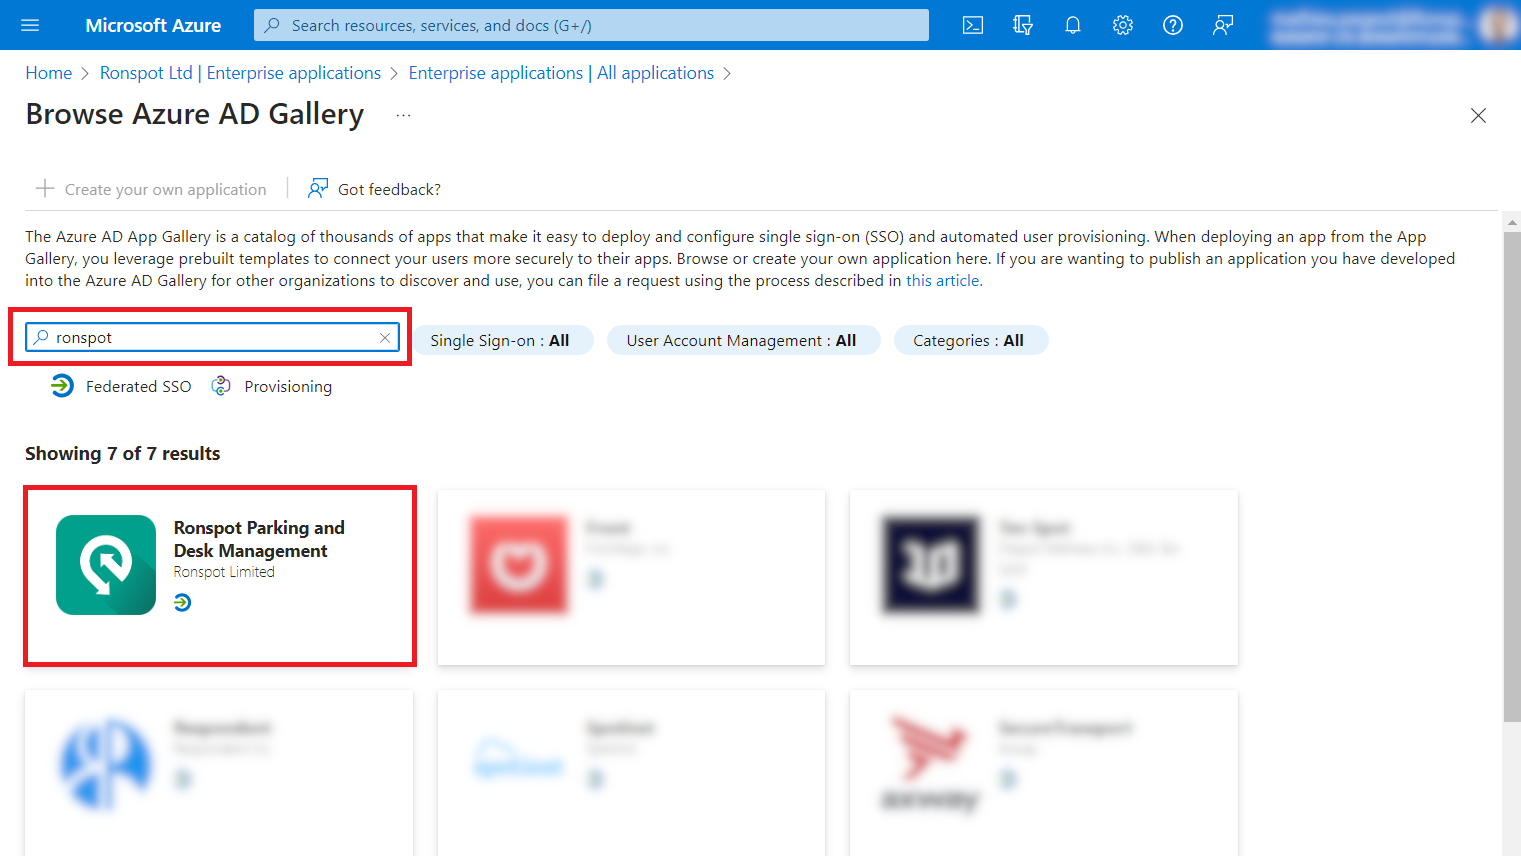
Step 5 – Find the Ronspot app in the Azure AD Gallery
This will take you to the Azure AD Gallery. Type the word ronspot in the search bar and click on the app named Ronspot Parking and Desk Management (see red square below)
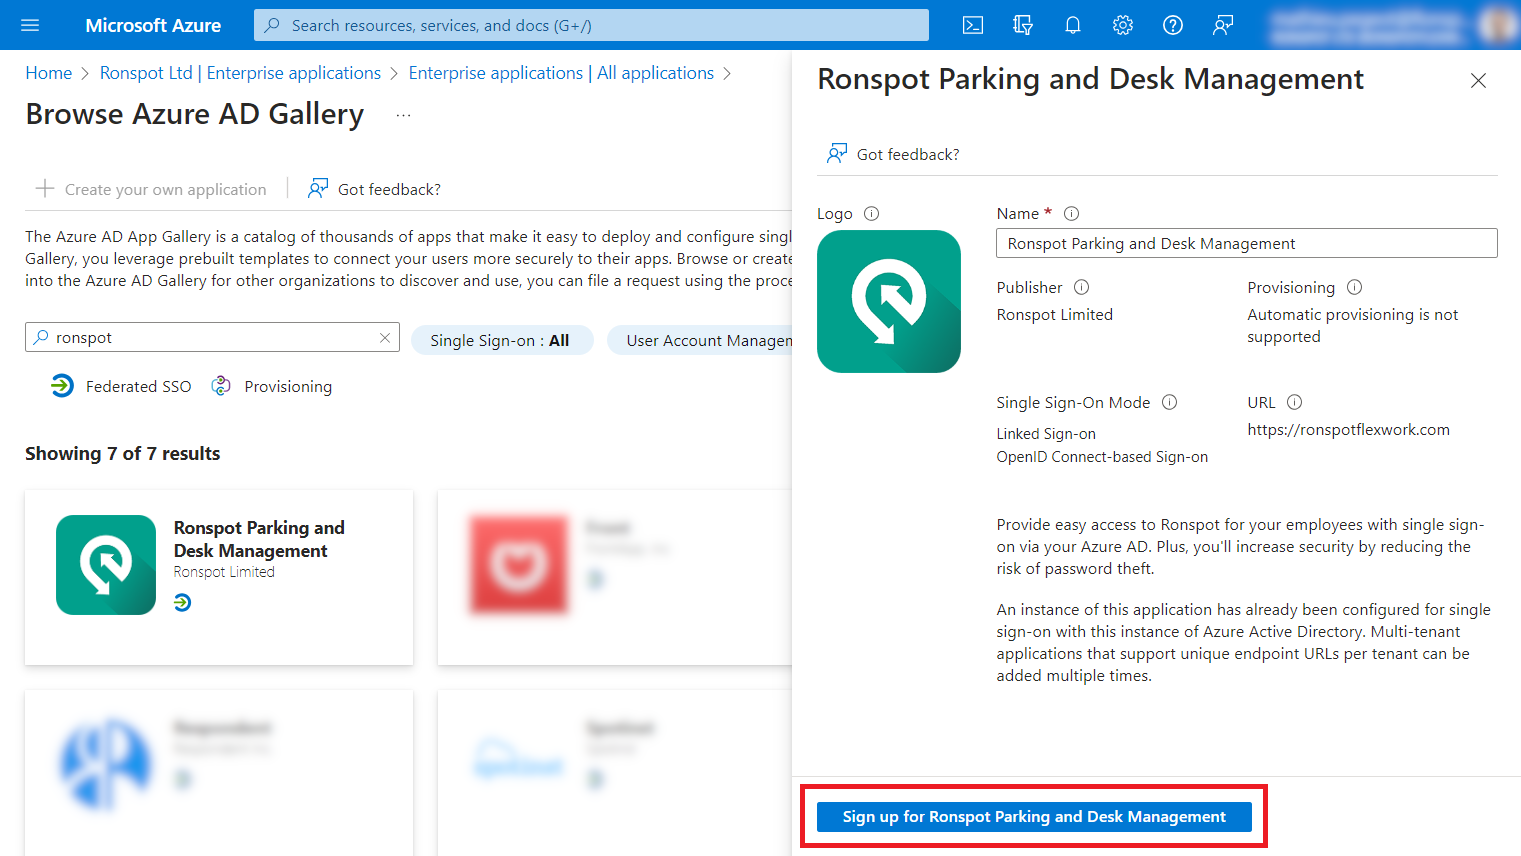
Step 6 – Sign up for the Ronspot application
This will open a pop-up on the right side. Cick on the blue button Sign up for Ronspot Parking and Desk Management (see red square below).
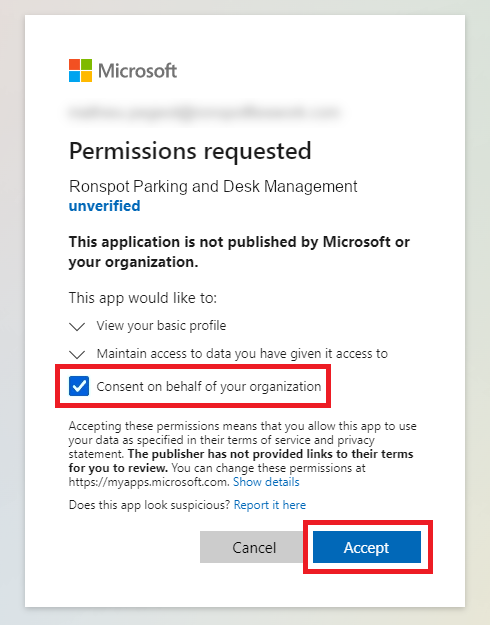
Step 7 – Give permissions
On the Microsoft page, tick the option Consent of behalf of your organisation (this might not show based on your company seetings), then click on the button Accept (see image below)
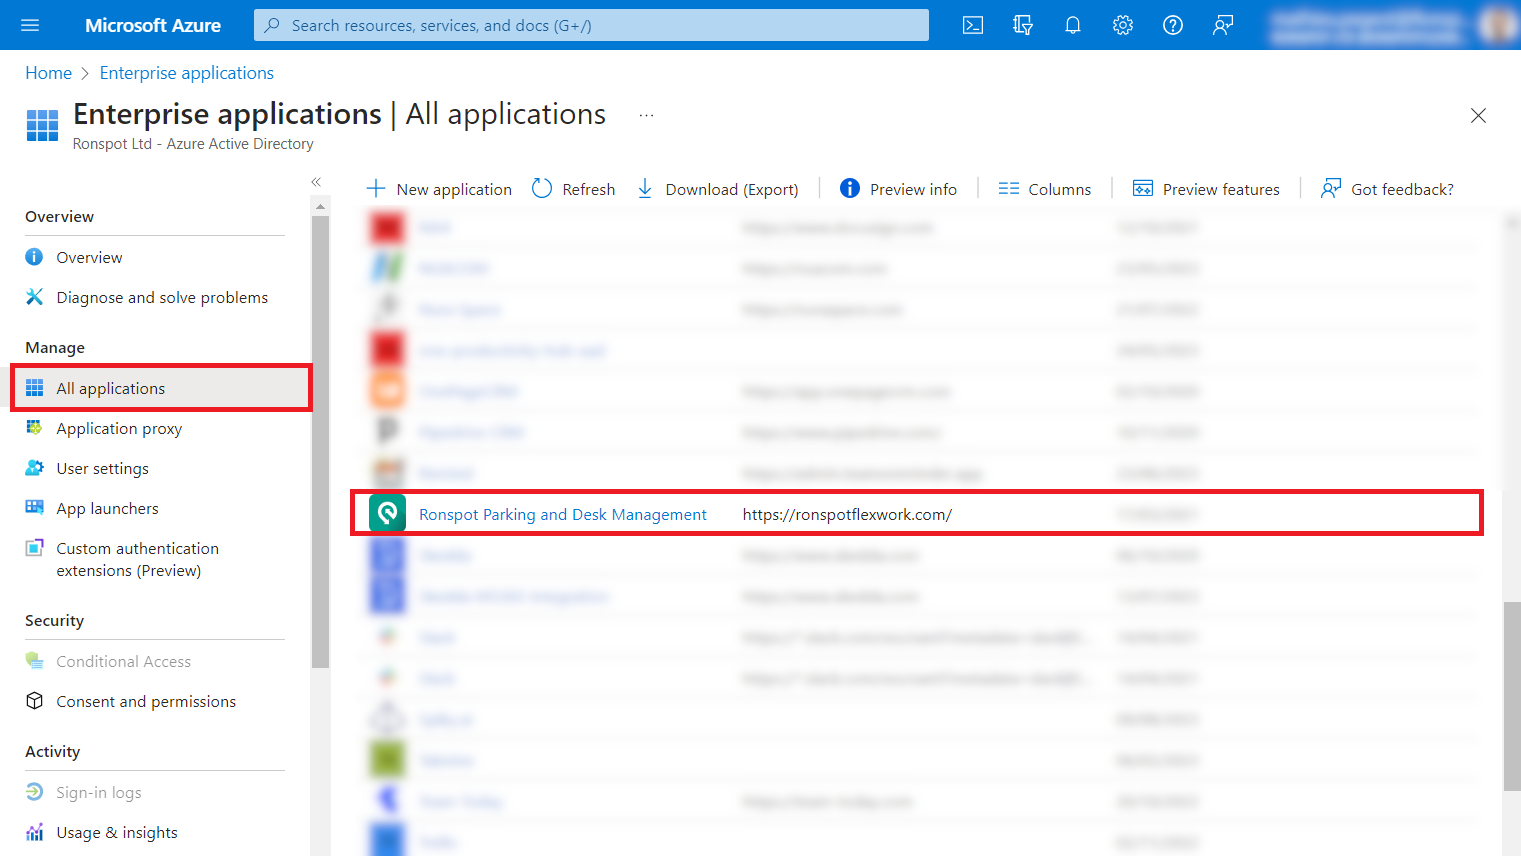
Step 8 – Edit the Ronspot application
Back on the All applications page, click on the application Ronspot Parking and Desk Management (see below)
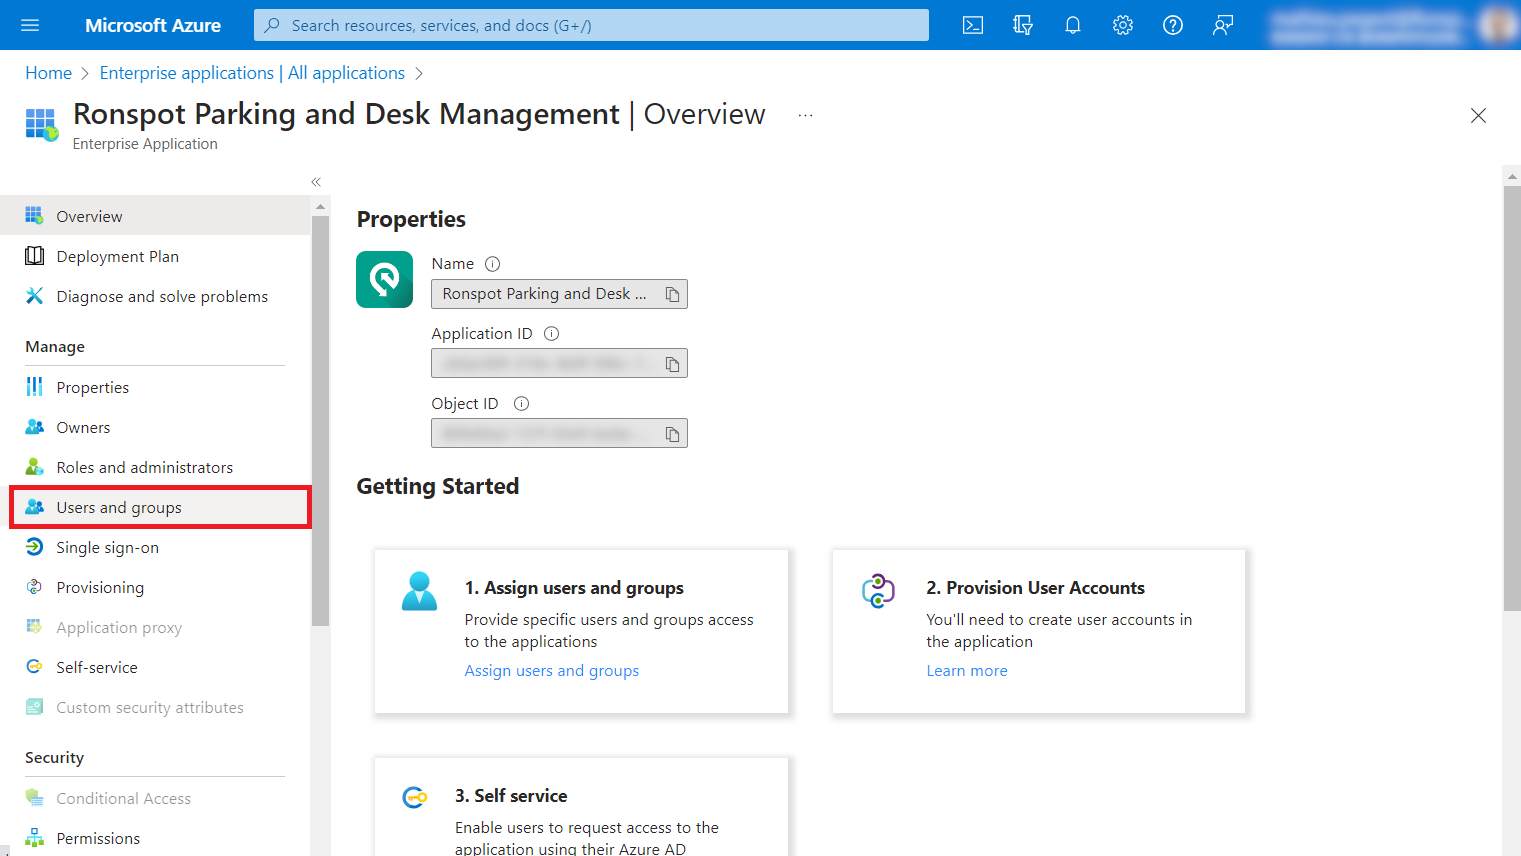
Step 9 – Go to ‘Users and groups’
On the sidebar, click on Users and groups (see red square below)
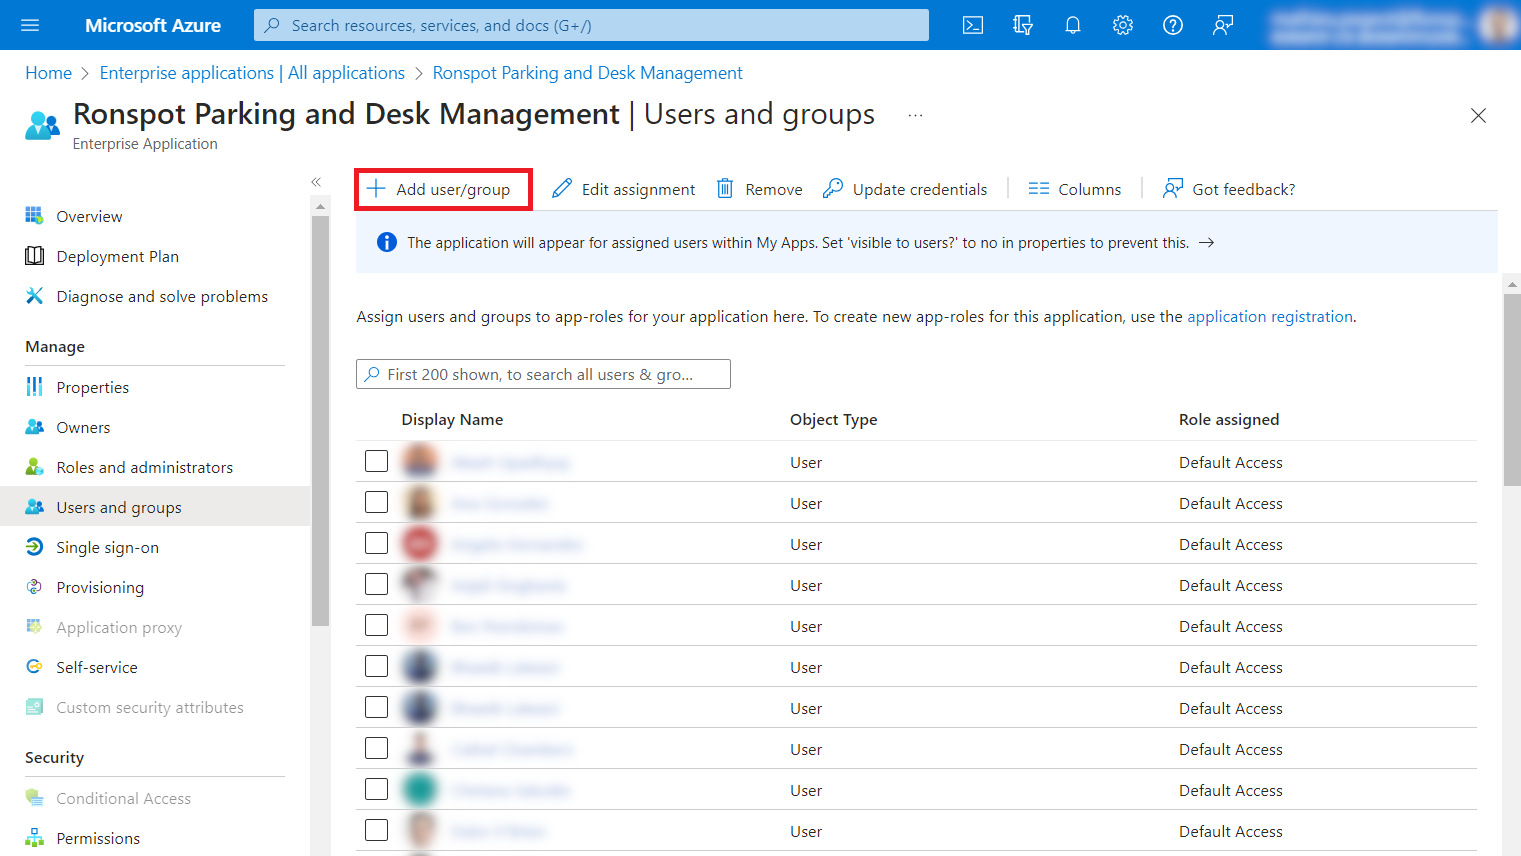
Step 10 – Click on ‘Add user/group’
On this page, you can find the list of employees who have been granted permission to access the Ronspot application via Azure AD. To add a new employee to the list, simply click on Add user/group at the top of the list (highlighted in red below).
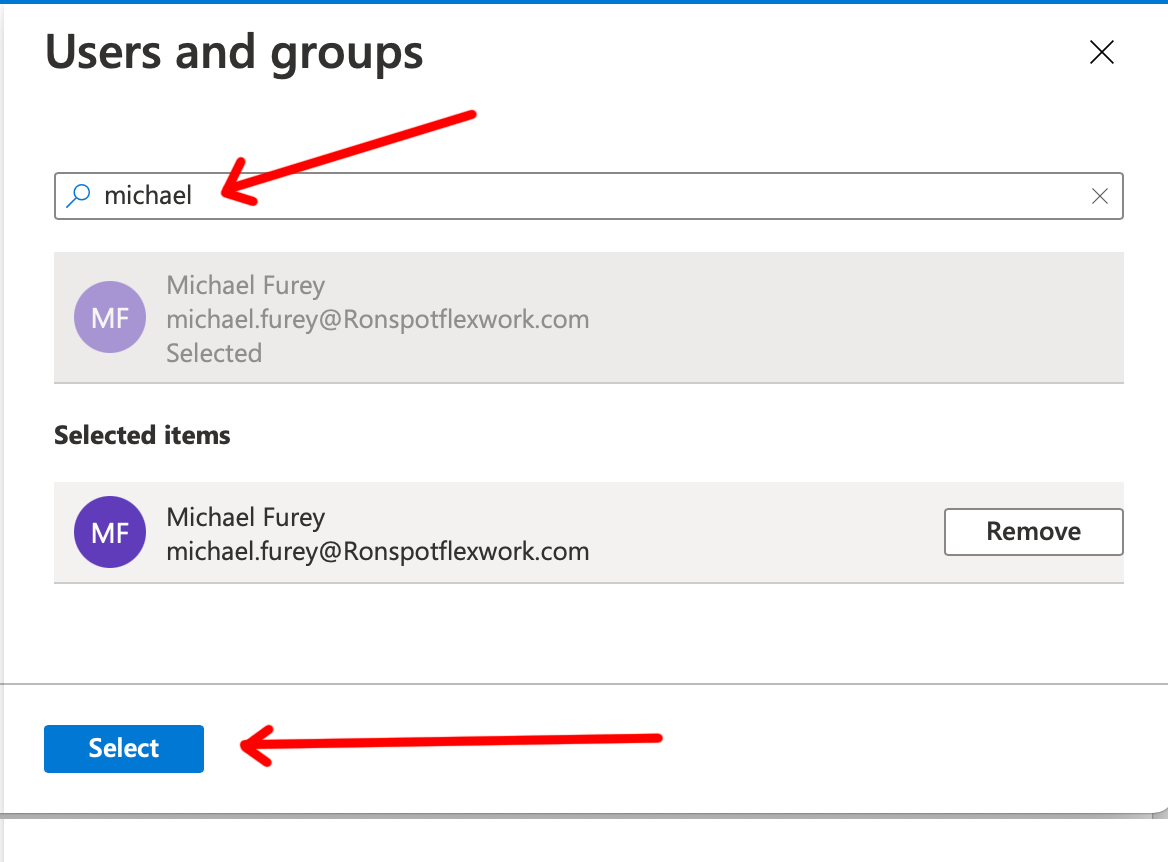
Step 11 – Add new users
Type the name of the user in the search box, then select the corresponding user below, and press the Select button
Step 12 – Login to the Ronspot admin portal
Step 13 – Go to ‘Advanced Settings > User Authentication’
In the sidebar menu, click on Advanced Settings, then select User Authentication
Step 14 – Click on the ‘Azure’ icon
Find your domain name in the list, then click on the Microsoft logo in the Azure column (highlighted in red below).
Note: If your domain name doesn’t appear in the list, simply click on the Add New Domain button to add it.

Step 15 – Switch to ‘Active’ and Save
Simply toggle the switch from Inactive to Active on the Status line. Once it turns green and displays Active, remember to click Save.
