Create a desk zone

Step 1 – On the admin panel, click on in the sidebar menu
Step 2 – Click on the blue button
Step 3 – Fill out the fields (see image)
- Name: Type the name of your zone
- it can be the name of a building, of a floor, of a department, etc.
- the name will be visible by employees on the app, so make sure to use a recognisable name
- Type: Select Desk Zone
- Layout: Select I have a map
- Timezone: Select your local time zone for the booking time to match
- Status: Select Active
Step 4 – Click on
Upload your office map
Step 5 – Find the new zone in the list and click on the button
Step 6 – Click on , select your office map (.jpg or .png format), and click on
Select your meeting rooms
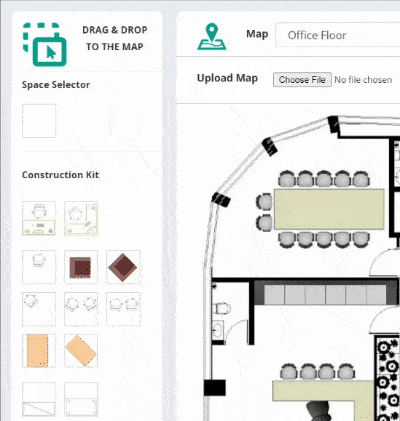
Step 7 – Drag and drop the Space Selector to the map (see image)
Step 8 – Tick the box Meeting Room
Step 9 – Give a name to your meeting room (try to keep it short), select the maximum capacity, and click on
Step 10 – Click on the shape to move it and resize it
- Move: Click on the shape, hold down and drag
- Resize: Mouse over the borders, your cursor will change (from a hand to a double arrow), click, hold down and drag
- Rotate: right-click on the square, then choose “Configuration”, change the value of “Rotation” and click on “Save”
Once you’re finished, don’t forget to click on Publish map at the top of the page to make the map visible to your employees